I will be taking you through the process of installing the Plex Client application on a computer running Windows.
Plex has two separate components. The client gives you access to the media available on the Plex servers available on the Internet or your server. Your Plex server is the second component in your Plex setup. I would advise you to set up your server first if you plan to set up your Plex server on Windows. Then I would recommend that you read our user guide on installing a Plex server on Windows.
- Download Plex client from Plex media downloads click save when prompted by your browser
- Unless you have changed the default setting the plex installation file will appear in your download folder.
- Close down any other applications that are running and click next to start the installation wizard
- If and when Windows displays a prompt asking if you want to allow the installer to make changes, select yes
- Change the file location for your installion if you want, but the default will be fine in most cases. Select next
- Choose start menu folder I wouldn’t make any changes to the default name so click install.
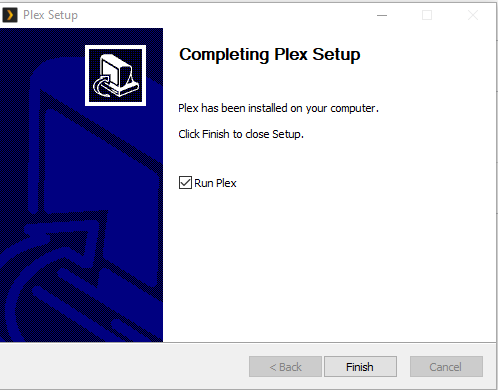
- Plex has now been installed on your click finish. Click the finish button
- Start Plex and login to your account.
I hope you have found this guide helpful.