Introduction
Today I’m going to running through the steps I took to set up a Virtual Linux Environment running Linux Ubuntu. If you haven’t already installed Oracle Virtual Box you can read my guide here.
I downloaded the latest Long-term release of Ubuntu desktop from https://ubuntu.com. I did this as the long-term release remains in support for a longer period of time than the standard release. At the time of writing the latest long term release for Ubuntu is 20.04.
Setting Up The Virtual Environment For Linux
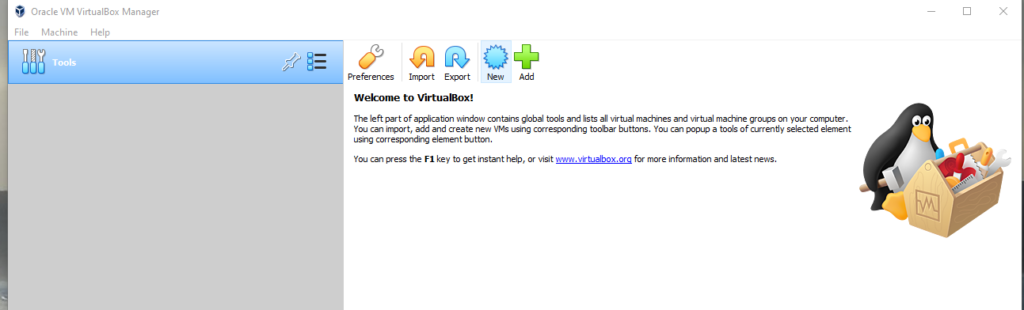
- Open Virtual Box application and select the New Icon to create an enviroment
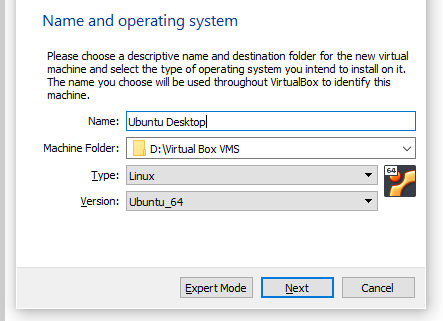
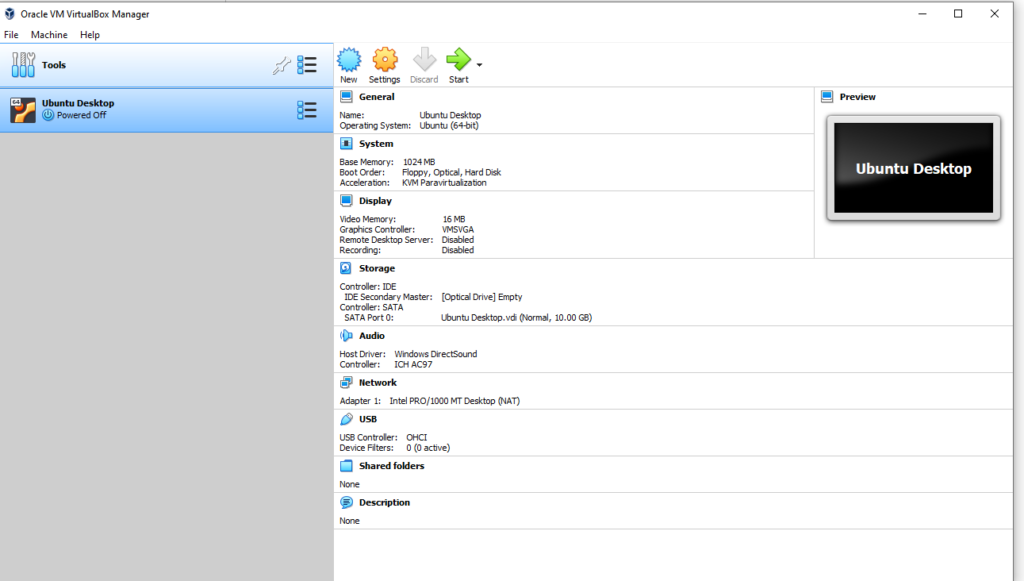
- Select the name, location, and type of Operating System to be installed. I changed the location of the virtual machine to a specific folder in my D: drive as that is my largest disk, but the default setting will be fine in most cases. As Ubuntu is a Linux distribution select Linux and then Ubuntu from the listed Linux distribution.
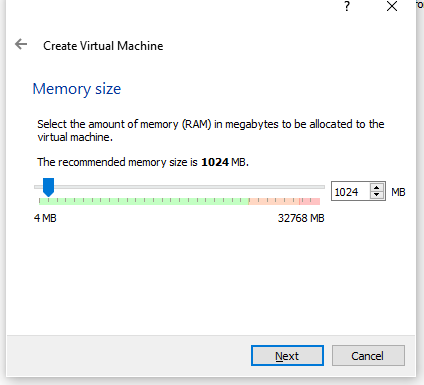
- Select the amount of physical memory on your computer to assign to the virtual machine. I went with the recommended size. Click Next to Continue
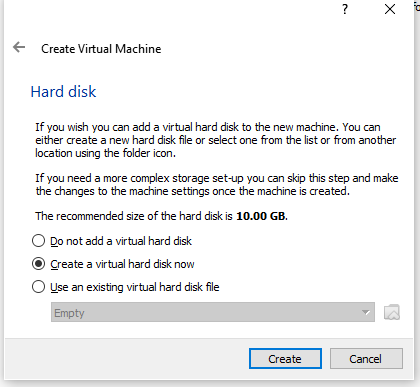
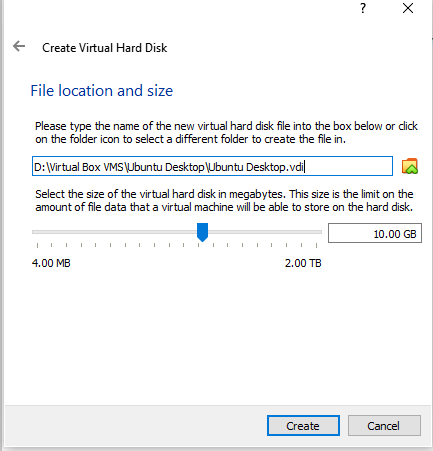
- Create the Virtual Hard Dive for the Virtual Machine. Which is a file on your computer which simulates a physical hard drive on the virtual machine. Again I will go with the default setting. Select Create to continue
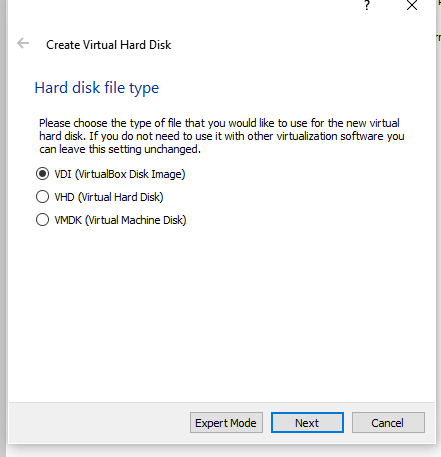
- Defining the Virtual File as I’m only currently using Oracle Virtual Box I have gone with the default setting
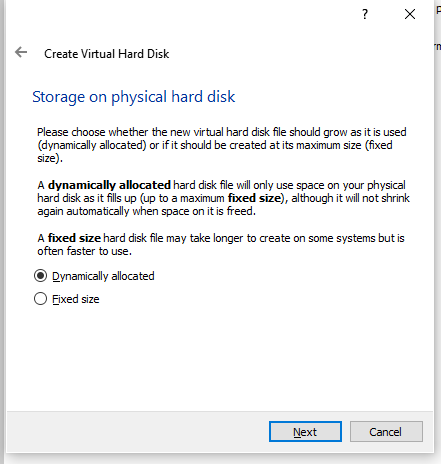
- Dynamic or Fixed Size. I used the Dynamically allocated file size which is the default setting as performance isn’t my biggest consideration. Dynamic files only take up space as required.
- Click on create to create the Virtual Hard Drive
Installing Ubuntu On To The Virtual Machine
- Select the Ubuntu Virtual Machine and click on Start
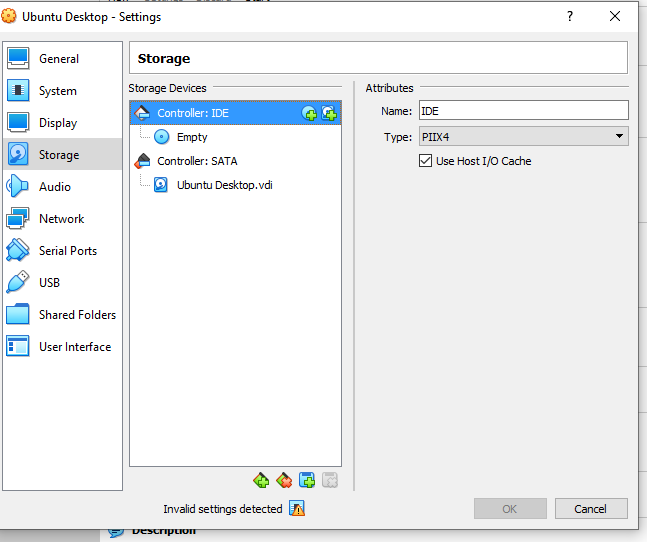
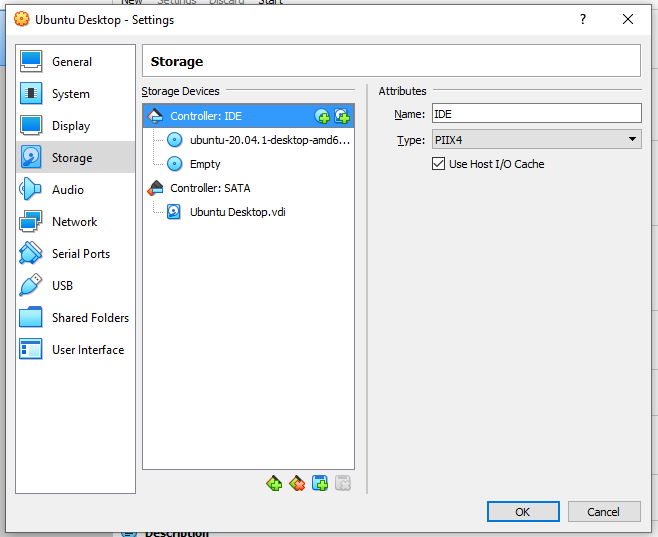
- Click on Storage and select Optical Drive
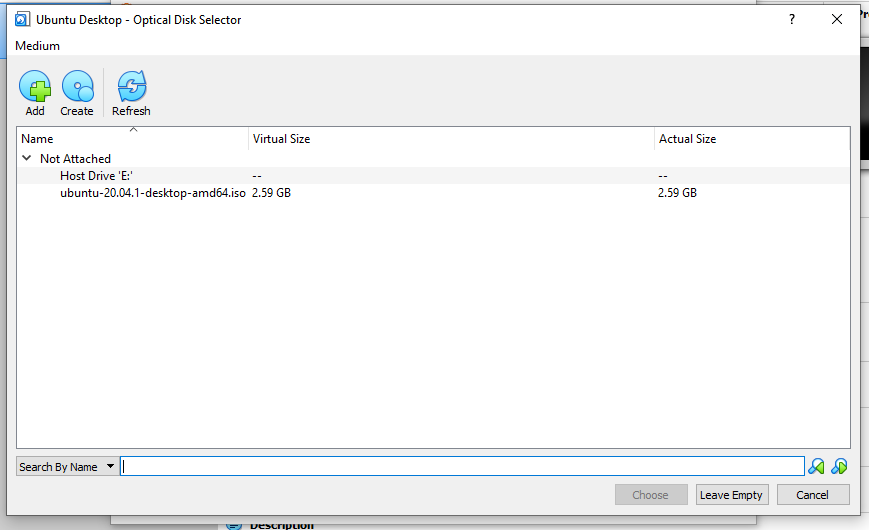
- Click on the Add Icon and slect the ISO you downloaded and then click on choose
- Select OK to close the storage settings window
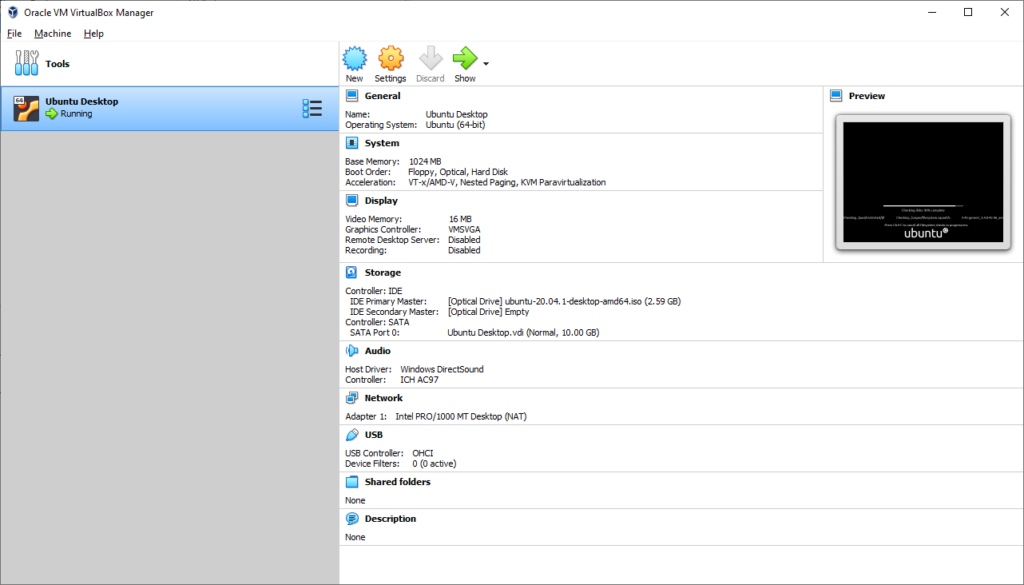
- Click Start to run the virtual machine
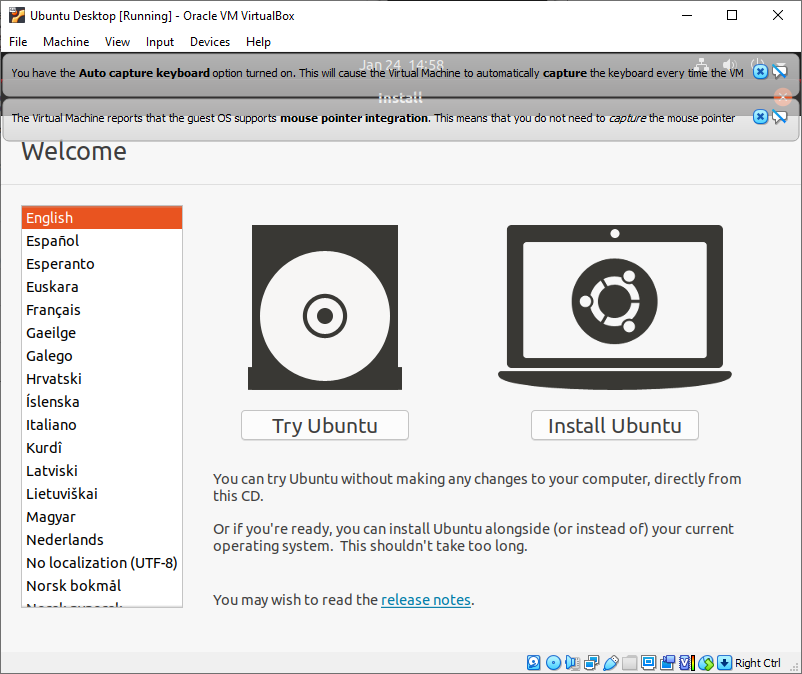
- The Virtual Machine starts running in the new Window and the Linux installer will run. Select Install Ubuntu to install Ubuntu on the Virtual Machine
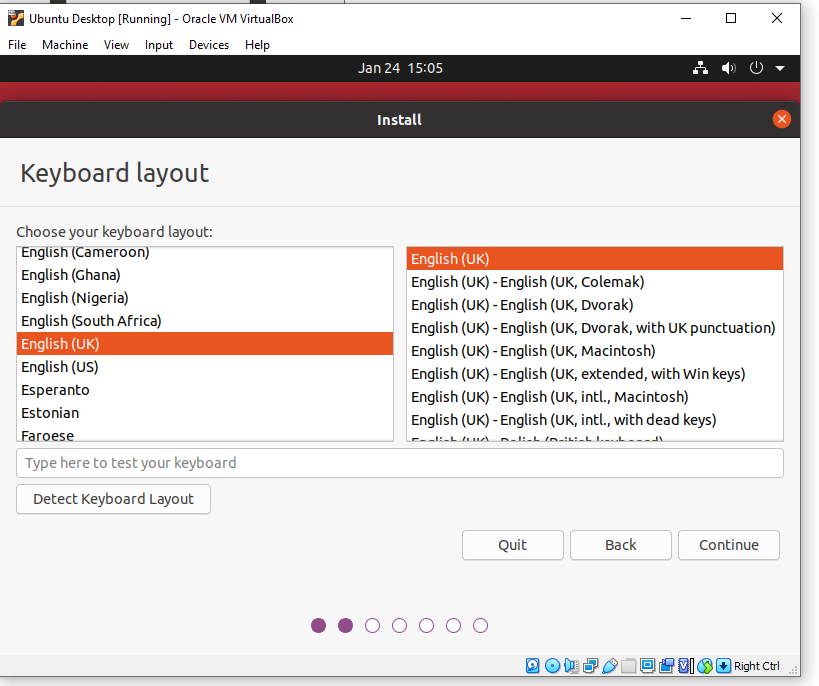
- Select the appopiate keyboard for your country before selecting continue
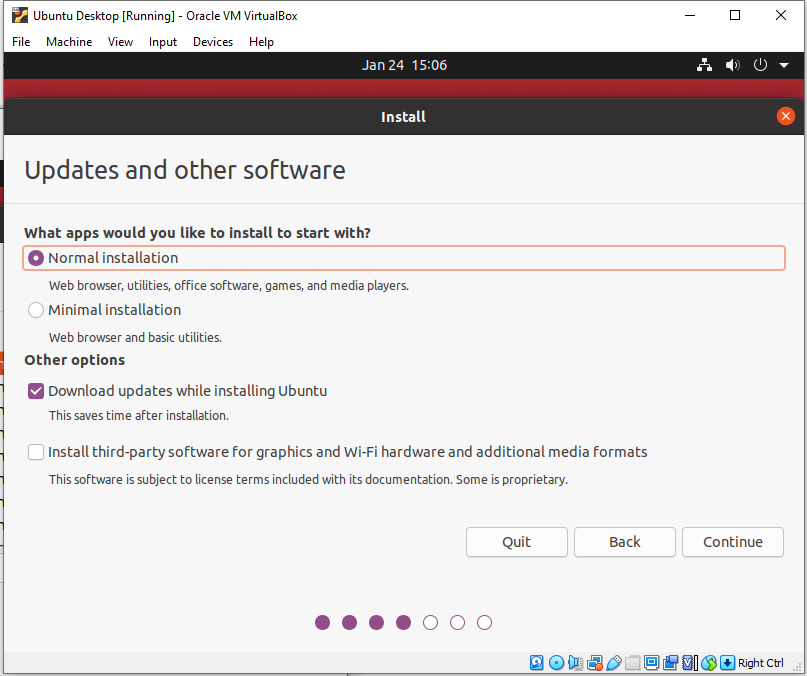
- Updates and other software I have gone with the default settings and then clicked continue
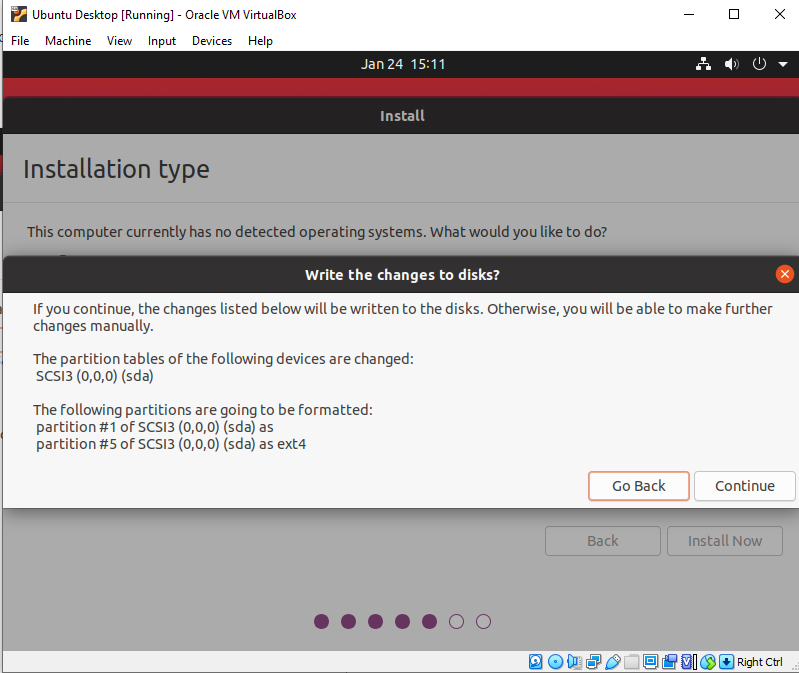
- As I’m installing Ubuntu on a virtual machine I’ve selected Erase disk and install Ubuntu and click Install Now
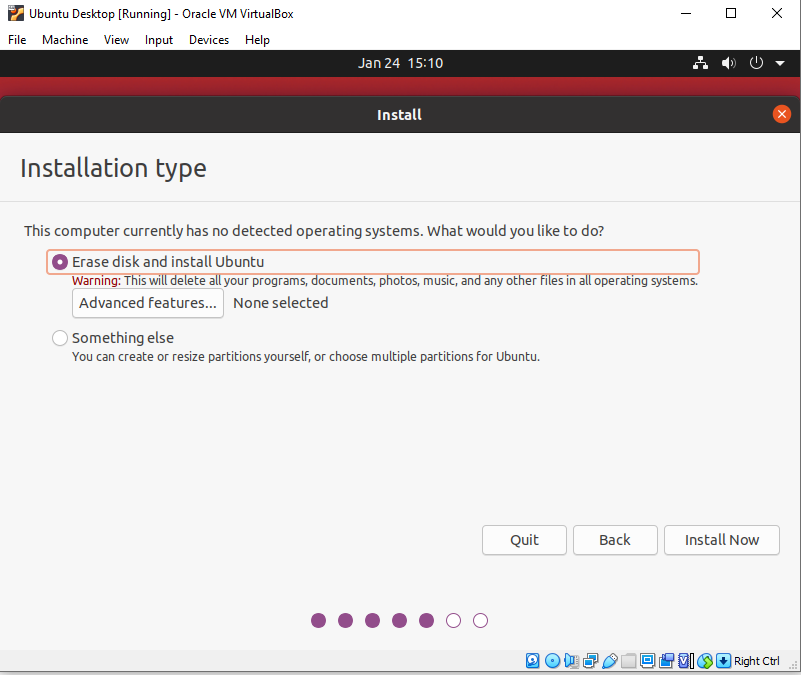
- Ubuntu advices you of the changes that will be made. Click continue
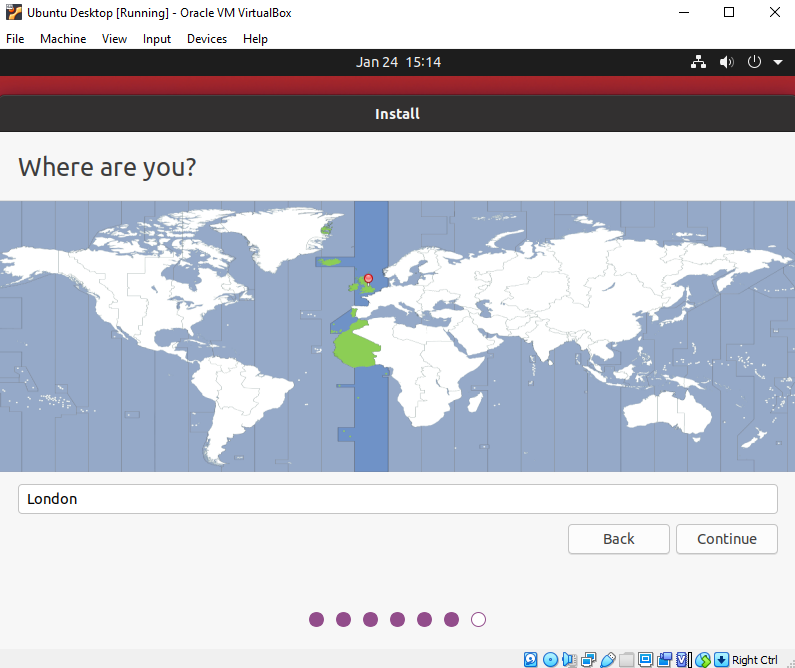
- Select your location and click Continue
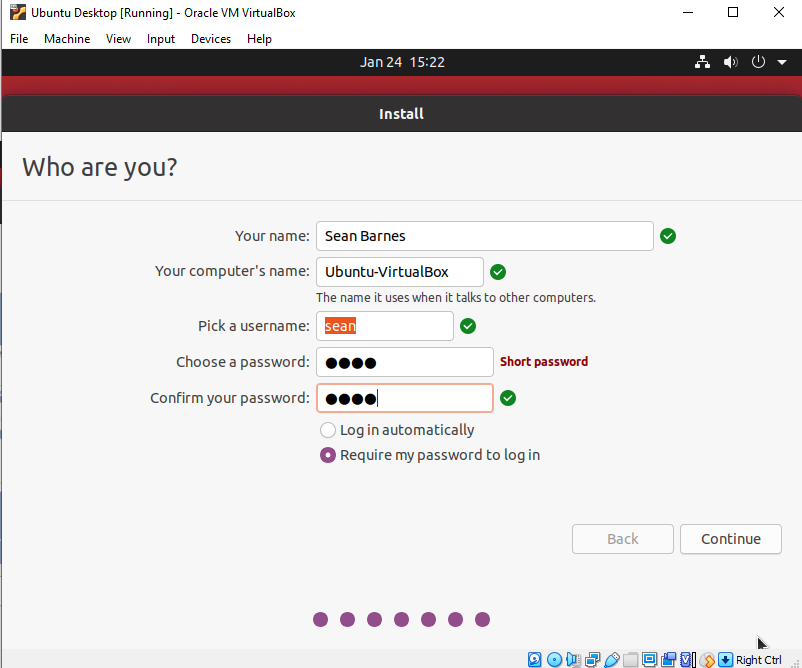
- Set up your user account and click continue
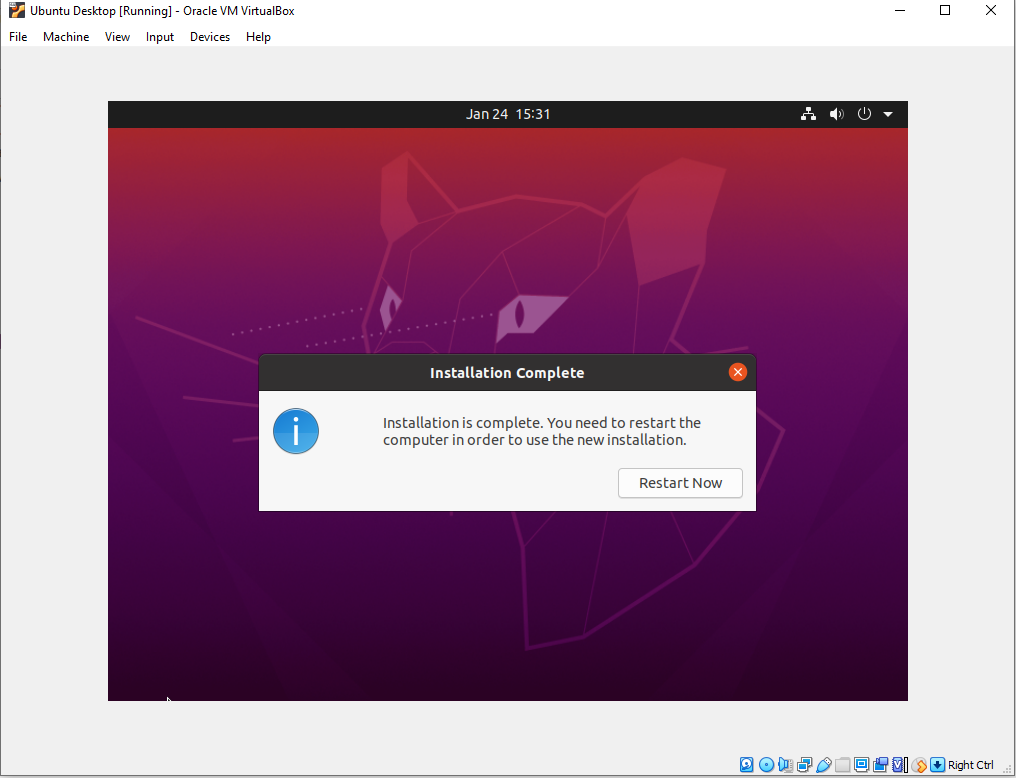
- Click on restart to restart the virtual machine to complete the installation
Conclusion
During the Linux setup process, I encountered errors due to hardware virtualisation being turned off in the Bios. So I had to restart the computer to access my Bios to turn on the virtualisation
Now that I have Linux installed on my Virtual Box I need to think about what areas of Linux I want to explore. Please feel free to add any suggestions on what I should explore in the comments below.